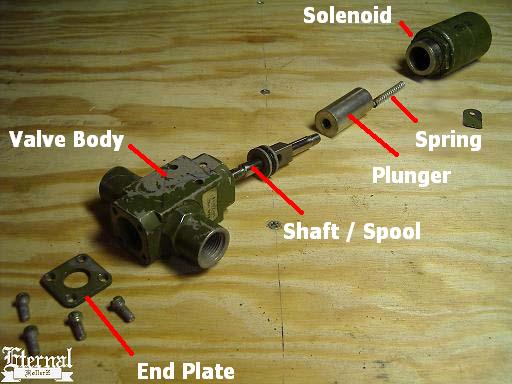
Whittaker Two Port: Dump Rebuild
Attention: Welcome to our new aircraft hydraulics section! We hope you find this section we have put together informative and interesting. You may notice that some part numbers and so forth are blurred out. One reason we didn't want to post full part numbers because it has taken us months of searches to get the information we have. It wouldn't be fair to us to just give up our hard work and research. Not too many people know about this stuff and the ones that do don't want to talk about it. We feel this is just the right amount of info so we don't upset anyone on either side. The biggest reason for not giving out full part numbers is because we don't need every lowrider to call up aircraft surplus places looking for things. Most warehouses don't want to sell to lowriders and the ones that do are raising their prices beyond a reasonable amount because people are willing to pay to much for stuff the warehouse considers junk. Lets keep prices down and think about it before you offer a insane amount for a used pump that needs a rebuild. If you are going to track parts down don't say that it is for a lowrider. Know what the full part number is, what aircraft it goes in, the proper name for the part and the function of that part. Take the time to research the surplus industry and know the lingo they use. Remember not to use lowrider lingo when talking with them because odds are they have a different term for the part you are looking for. With a little research and some luck you'll be able to find what you need.
Warning: If you are unsure about doing anything do not attempt the take apart the dump. Remember the old saying " if it isn't broken don't fix it. "
When you own a dump like a Whittaker you will see that the valve will eventually need new seals. When you have old parts such as dump valves getting your hands on a rebuild manual is not always an option. But if you can get a manual buy it...
In this section we will tear down a two port Whittaker valve, inspect / replace seals if necessary and check the spool. Lets take a look at how Jay rebuilds these dumps. Also we we will tell you how to convert the dumps from normally open to normally closed.
If you need help, want to send out your valve for service or have questions please contact Jay
Remember where you saw it first!
Above: We begin by cutting the lock wires to the solenoid and bottom plate of the dump.
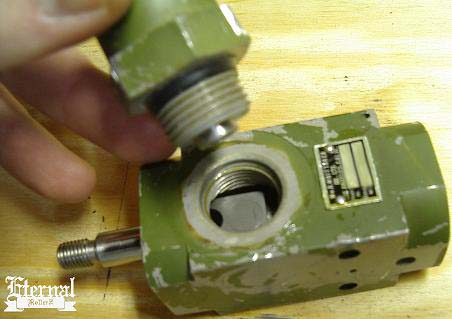
Above: Before we unscrew the solenoid from the body oil is put in the hole on the valve body that is showing the threads of the solenoid. The valve is then put in a vise with a towel to protect the valve.
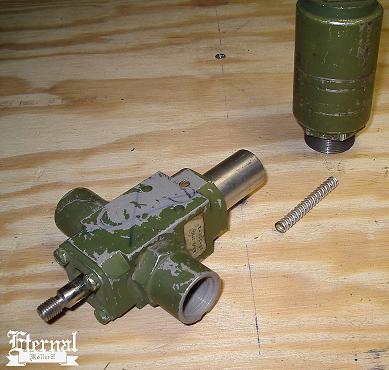
Above: The solenoid is now coming out of the valve body.
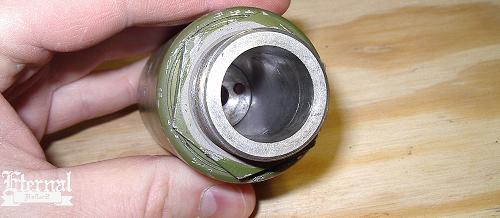
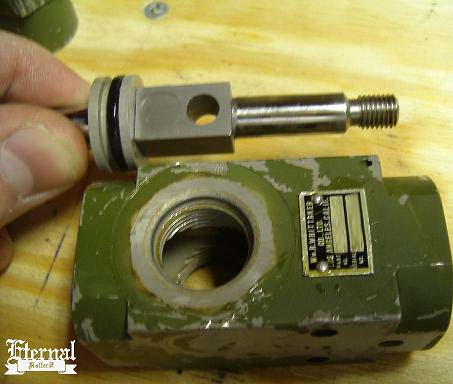
Above: With the solenoid off the valve body the plunger and spring is exposed.
Above: A look at the solenoid from the bottom.
Above: Here is the solenoid.
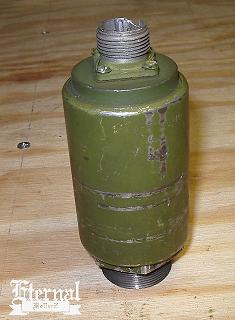
Above: The valve is just about ready to come apart.
Above: Remove the bottom plate by taking out four screws.
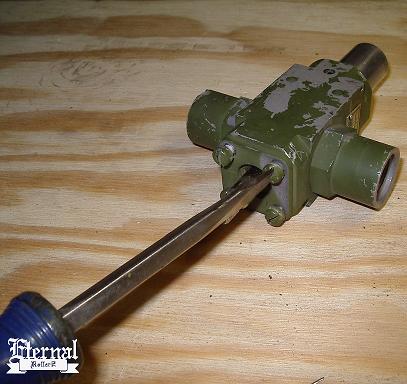
Above: Now time to take the plunger out. Locate the set screw on the side of the plunger.
Above: After undoing the set screw the plunger will turn right off the shaft.
Above: Here is the valve with the plunger removed.
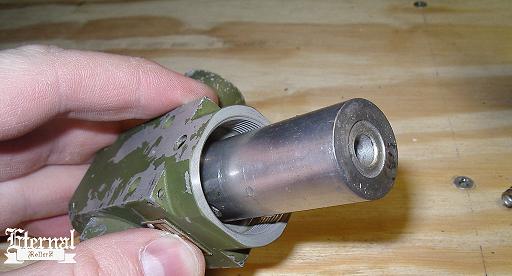
Above: Push your thumb in on the shaft.
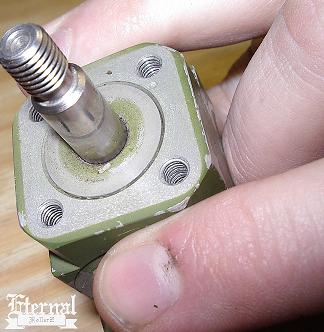
Above: Watch the bottom of the valves as you push on the shaft.
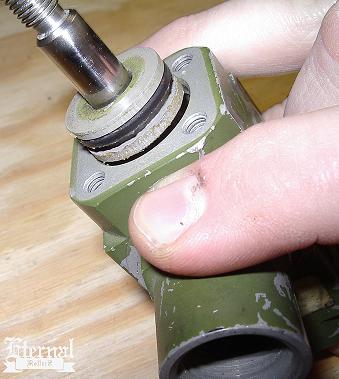
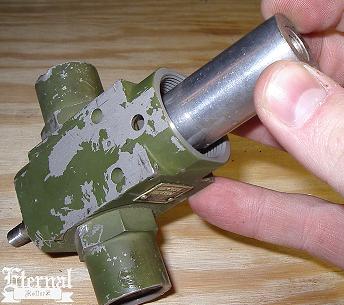
Above: The shaft and spool will begin to come out of the valve.
Above: Two spring loaded bushings help seal the spool.
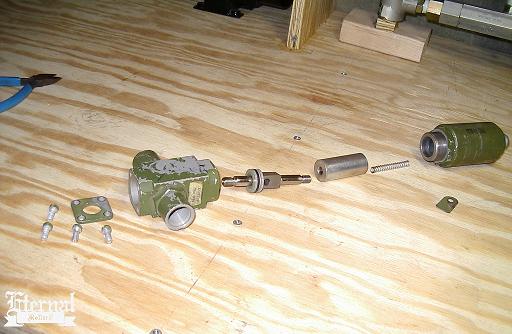
Above: The valve is just about all apart.
Above: Parts inside the Whittaker valve.
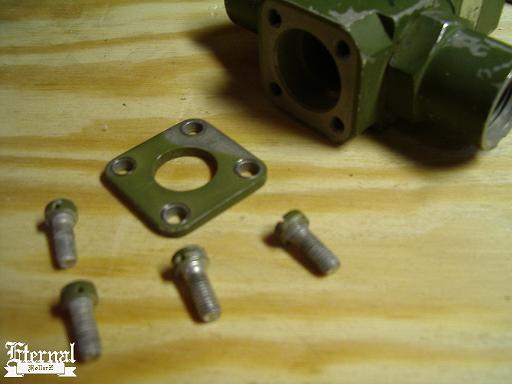
Above: Detail of bottom plate.
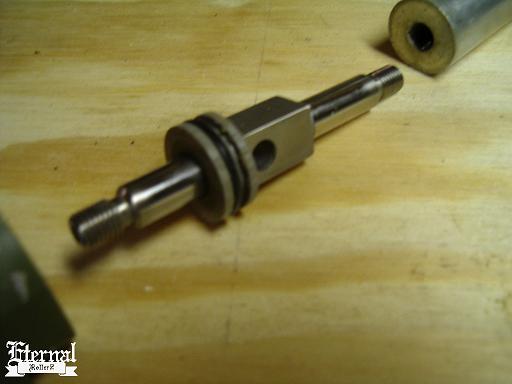
Above: Spool up close.
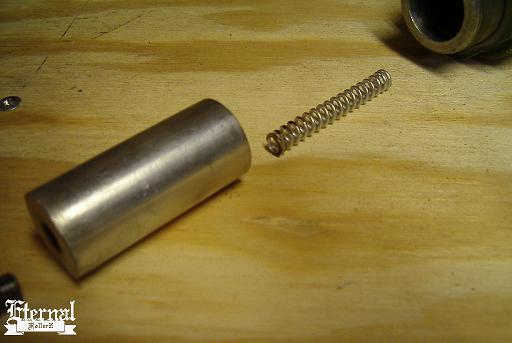
Above: Close up of plunger and spring.
Above: The solenoid.

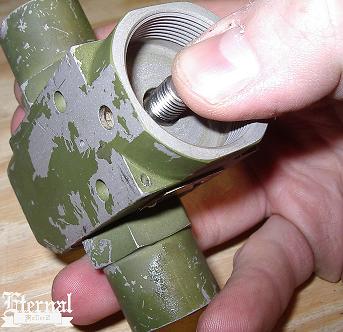
Above: The side ports are removed from the valve body. THIS IS THE ONLY WAY TO GET THE SPOOL BACK IN THE VALVE BODY! Take the bushings out of the side ports along with the small springs. Clean and oil these parts. Replace the seals on the port threads.
Above: The spring is put back in the side port.
Above: The bushing is put back in place.
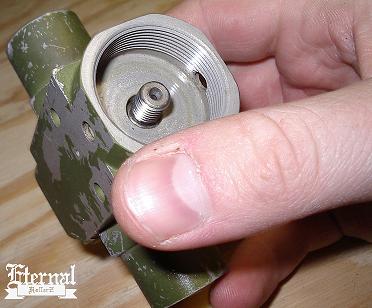
Above: At this point the valve body is cleaned. You will notice several small O-rings in the shaft chamber of the valve body. Use a tooth pick to remove the O-rings and replace them.
Above: With the spool in place you can put the side ports back on the valve body. The valve can then be put back together.
How To Convert Normally Open To Normally Closed Valves
Every now and then you will stumble across a valve that is set up for normally open use. The Whittaker valves can be converted over to the normally closed type used on lowriders. The spool can be turned either way to operate how you wish.
Above: A Whittaker valve you may think is useless as a normally open valve can be converted by just turning the spool the other way inside the valve body.
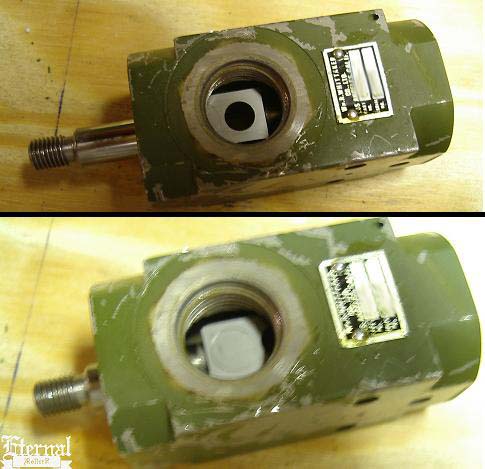
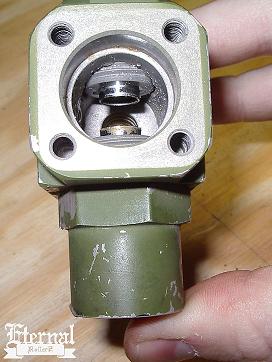
Above: This valve is setup as normally open. Notice the hole is closed in the energized position.

Above: This valve is setup as normally closed. Notice the hole is open in the energized position.
More Information & Resources
Service, Repair & Custom Work:
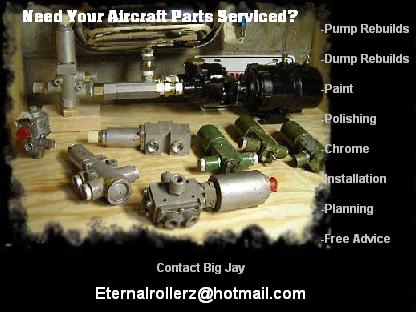
Aircraft Parts Sales:
More Educational Information:
All Photographs and Art Copyright
© 1998-2006 Eternal Rollerz C.C.
Website Design Copyright © 1998-2006 Webmaster