Complete F-B-S-S Hydraulic Install in a Car
Editors note: This should help people figure out how to install a F-B-S-S hydraulic kit on their own. This article below describes a typical installation on a RWD car. Methods differ for other cars, trucks and imports..
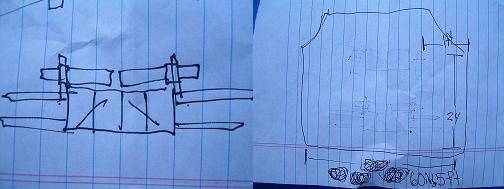
Above: Before any work is started simple drawings are made to plan things out.
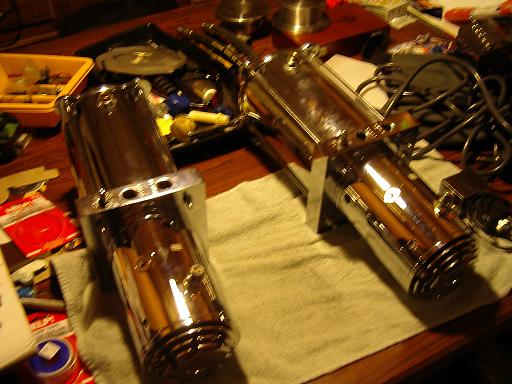
Above: These are the pumps as they come out the box for the kit.Yes they do come assembled but you'll have to plumb the fittings. Most people start out with a two pump setup with four dump valves. First make sure all the parts are included with the kit. The pumps are laid out on a work bench ready for the plumbing to be hooked up.
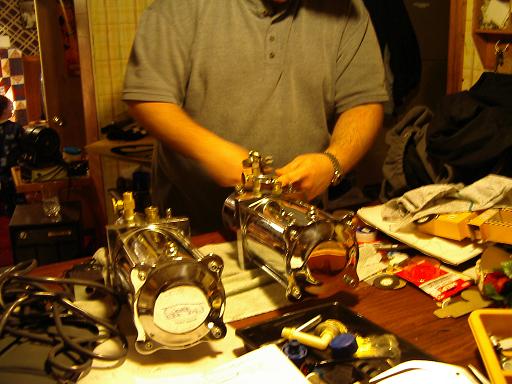
Above: Before threading the fittings together they were left in a freezer for an hour to contract the metal. This makes the fittings very tight and almost leak proof when they expand back at room temperature into the dumps and pump blocks. Teflon tape is put on all the pipe thread fittings.( Not on the hose J.I.C fittings. ) Make sure to skip the first few threads with the tape and that the tape is wrapped so that it won't unwrap when the fitting is tightened. Jay finishes up plumbing the fittings on the pumps.
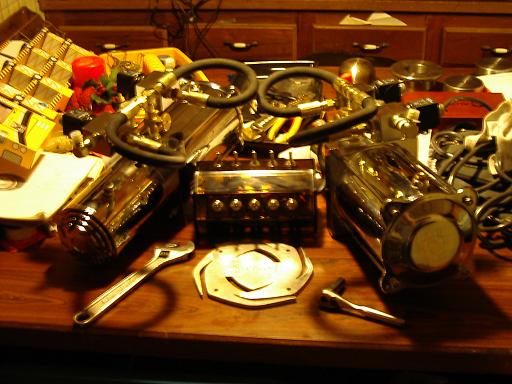
Above: Make sure all the fittings are tight and that the check valves are installed the right way. Now the pumps are ready to install in the car.
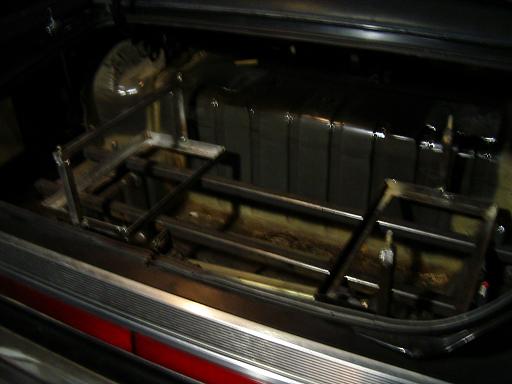
Above: A rack to support the weight of the setup and batteries is constructed of heavy box steel and angle iron. Two main supports run across each side of the car and are off the trunk floor about two inches. Each support is bolted into the frame rails in the back of the car. This is to take the weight off the weak trunk floor and to provide a stable location to mount the pumps and batteries.
Above: The battery trays are made from strong angle iron and feature a bar to hold the batteries in place. The trays are made outside the car and then placed in the trunk for final measurements. Make sure you have room to close the trunk lid!
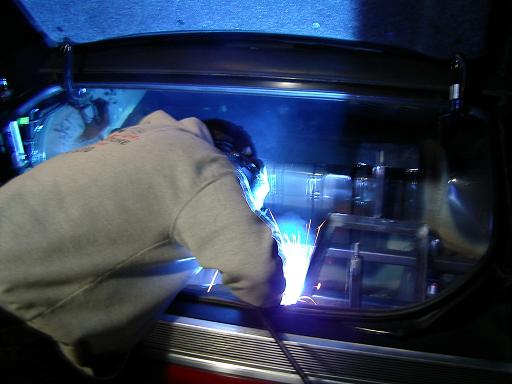
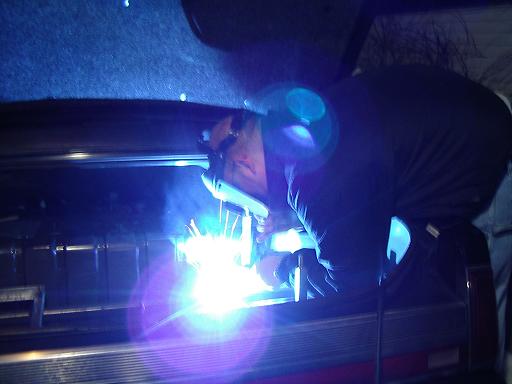
Above: Once the trays are in the best spot possible Mario welds in the trays. C-clamps make sure the trays are secure when the trays are being welded.
Above: Mario making sure the rack is secure with his excellent welds.
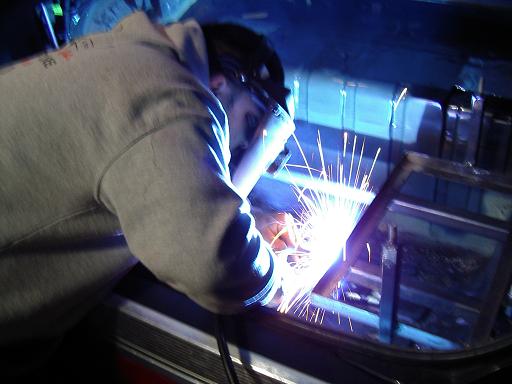
Above: Jay welding up a few spots on the racks.
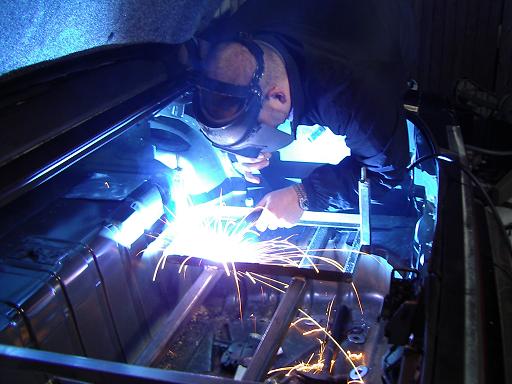
Above: Jay welding up a few more spots on the racks.
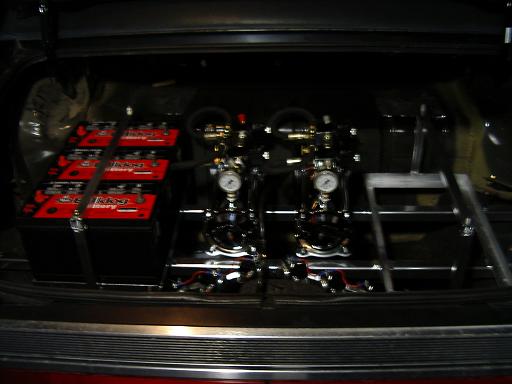
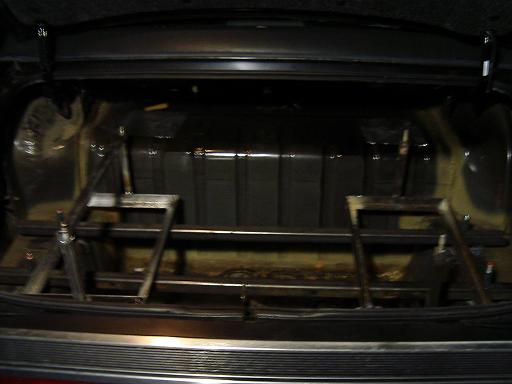
Above: Pumps and batteries are mounted on the finished rack. The wiring is finished and the hoses are ran to the front of the car inside the frame rails.
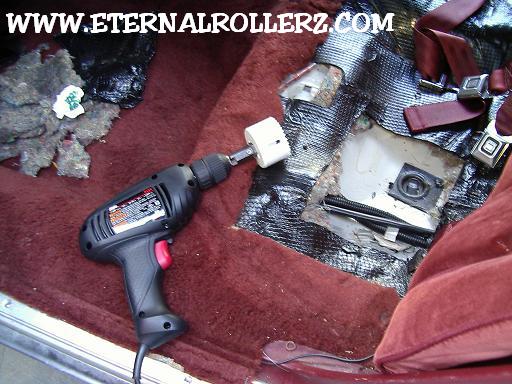
Above: The rear seat is removed to make a hole for the hoses.
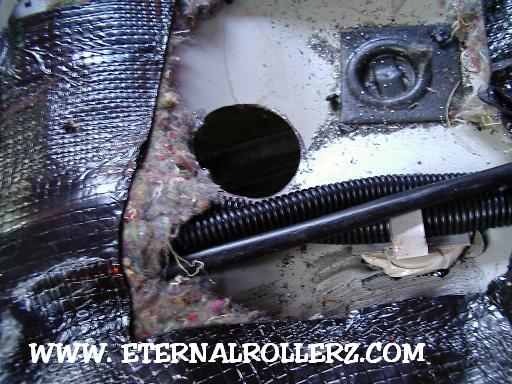
Above: This is what the hole should look like.
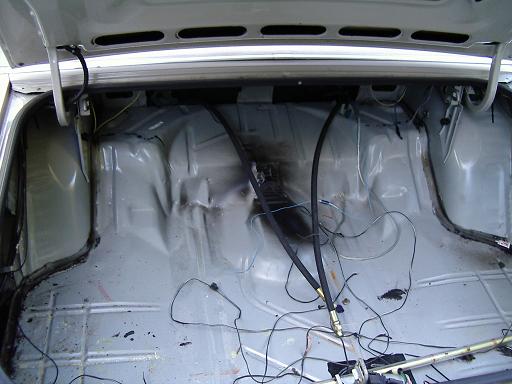
Above: The hoses should have plenty of slack in the trunk.
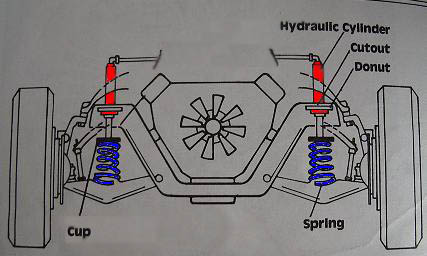
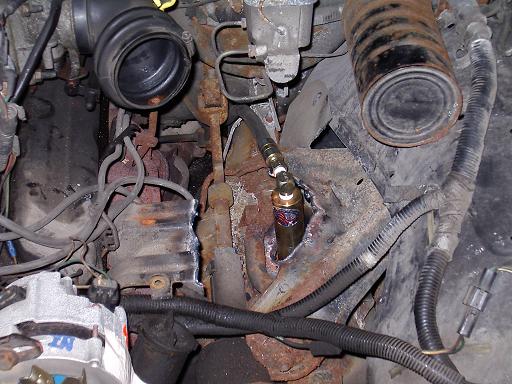
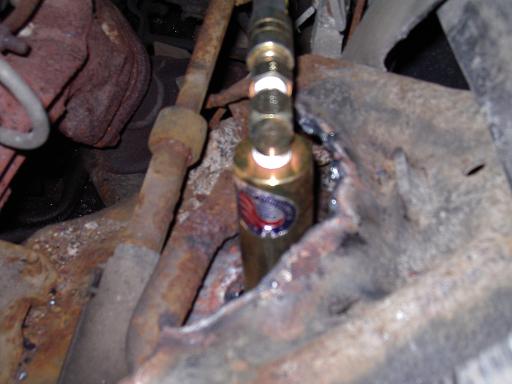
Above: This is how the front cylinders are placed in.
Above: Here is one way the rear cylinders can be mounted. We install rear cylinders the coil over method for safety. See the article about the chain bridge to see how the cylinders are mounted in the back.
Above: The front shocks are removed and the front springs are cut with a torch to take the tension off of the front springs. The upper ball joints are taken apart and the old factory springs are removed.
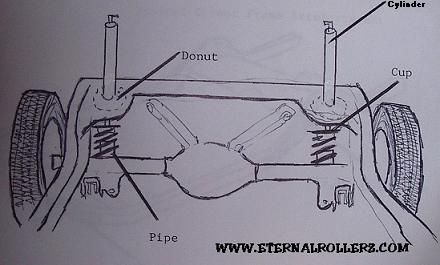
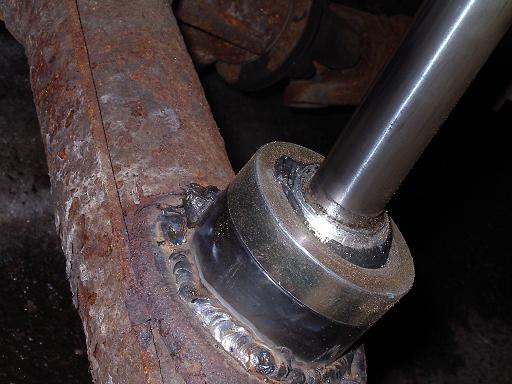
Above: The mounting hole for where the shock was is enlarged with a hole saw or torch to allow the cylinder case to pass through the frame. The upper control arms are notched to allow room for the cylinders when the car is fully lowered in the front. The cylinder is held in place from the top by someone and the hopping spring is placed under the front cup that is bolted to the cylinder end. Now put the ball joints back together and carefully lower the car off the jack. Make sure the cylinders are coming up straight and that the front springs are seated good in the front cups.
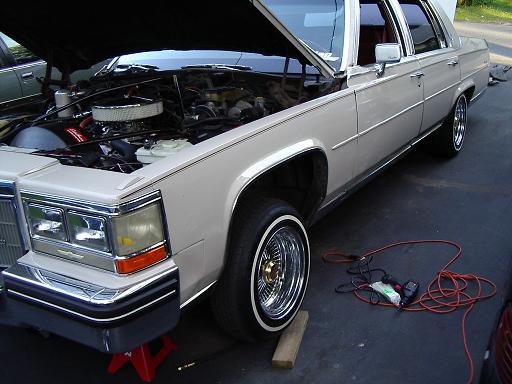
Above: The rear springs are removed from the car. On the upper spring perches a hole is made to allow the cylinders to pass into the car's trunk. We only use power balls and coil over setups for the back cylinders now because it gives the best and safest ride for the rear. The power balls are welded to the rear axle where the bottom of the factory springs went. The cylinders are placed in with the reverse cups and springs, then the power balls are tightened up. The car is slowly lowered back to the ground. Make sure the cylinders are coming straight up into the trunk and that they hit nothing. The hoses are attached loose to the cylinder fittings and the system is switched on at low voltage until hydraulics fluid oozes from the loose fittings. Tighten the fittings and hit the switch. The car will lift! You did it! The setup is tested out front, back and side to side.
All Photographs and Art Copyright
© 1998-2005 Eternal Rollerz C.C.
Website Design Copyright © 1998-2005 Webmaster