Biscuit Tuck Patterns
So you want a really plush interior? Well, here's
how to do it. We have found velour and velvet work best using the techniques
we are about to show you. We went with black velour and white vinyl buttons
on this project. The pictures don't do the interior work justice.
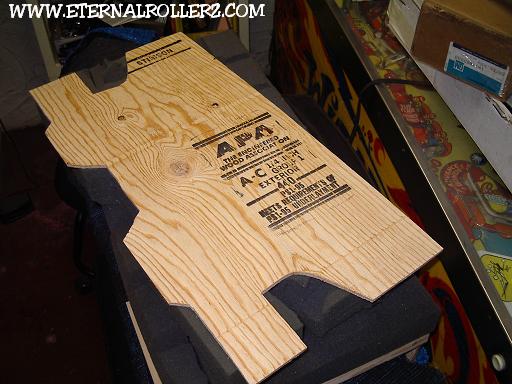
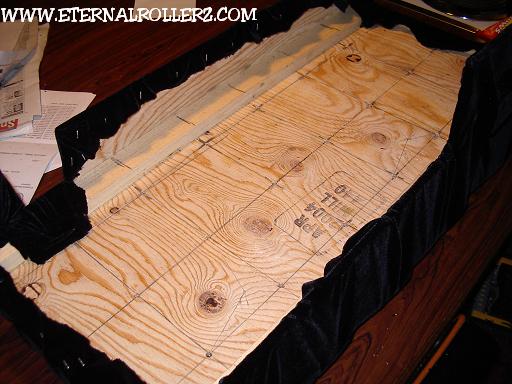
Above: Here a board is cut out in the shape of something you want to cover up. This board is the base of your project.
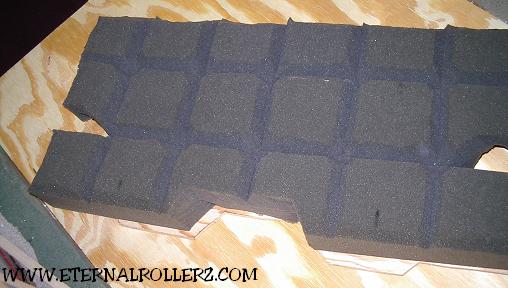
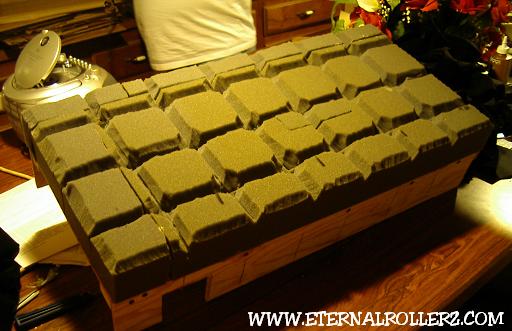
Above: Three inch thick foam is cut in the shape of the base board and glued down.
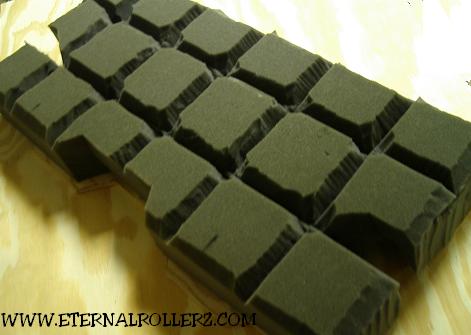
Above: Figure out how big you want the pattern to be. Here a four inch pattern was decided on for the project. It was then cut out about half way down into the foam.
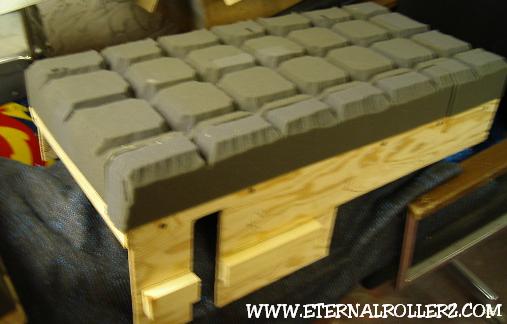
Above: Another part is made up using the same techniques.
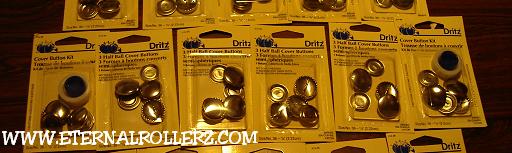
Above: Snap together buttons were purchased at the fabric store.
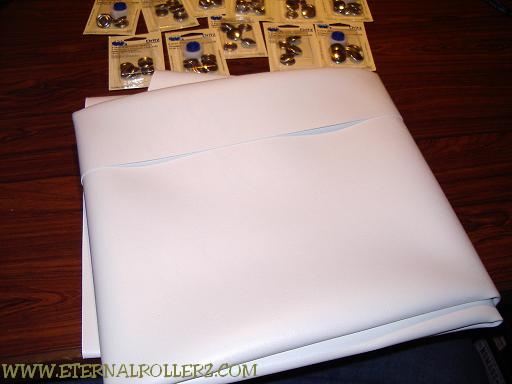
Above: White vinyl was picked up to make the buttons.
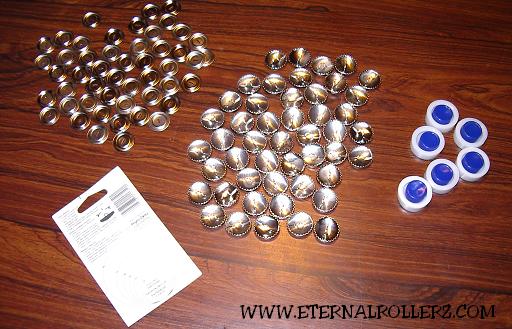
Above: To left is the back of the buttons, in the middle is the button tops and to the right is the button making tools. Normally buttons can be snapped together very quickly.

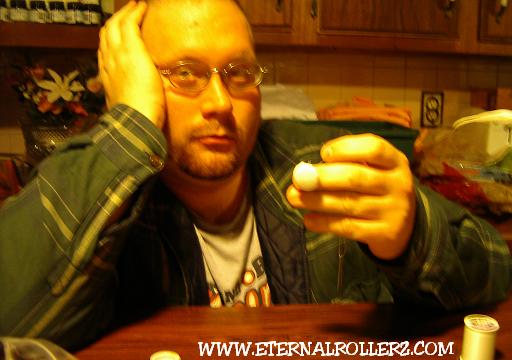
Above: The white vinyl was to thick to snap together so every button had to be hand sewn.
Above: Two buttons done and about 50 more to go.
Above: This part is ready to be covered with velour. From the back holes are drilled into the base board where the buttons will be so a needle can thread them in. When drilling be careful not to catch the foam.
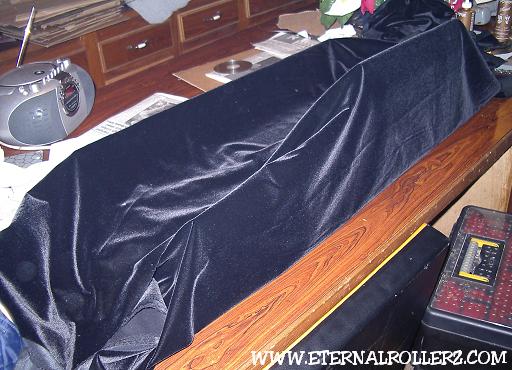
Above: Black velour is measured and wrapped around the work piece.
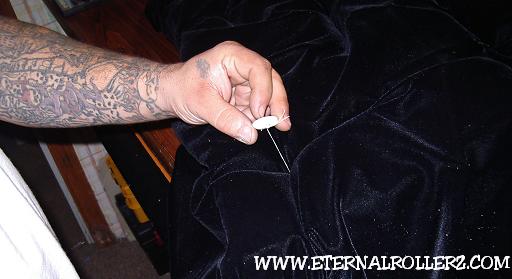
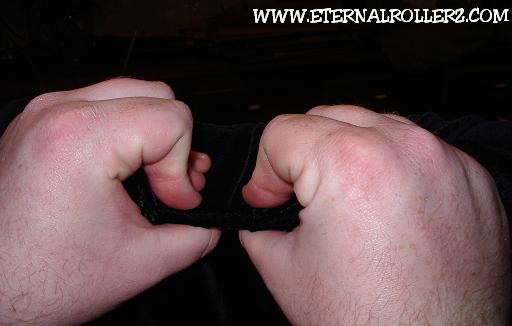
Above: Mario uses heavy nylon string that is tied to a button and the first button is threaded in from the top.
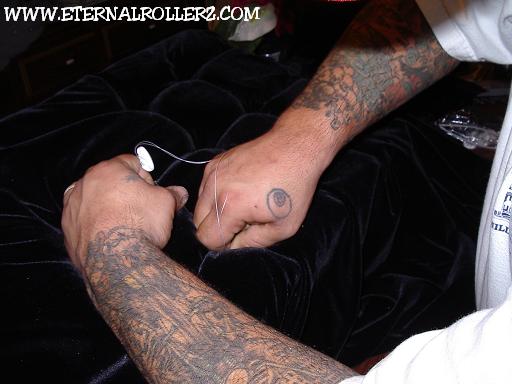
Above: The next buttons are threaded by coming in through the bottom and going out the same hole. The trick is keeping tension on the string as you go along.
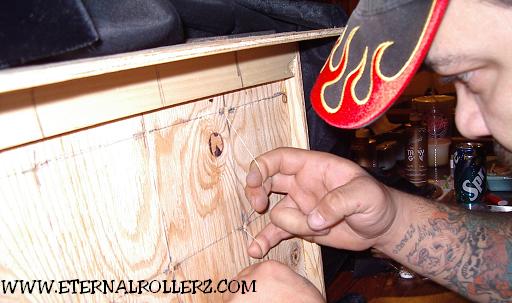
Above: From the back the string is tightened and tied up.
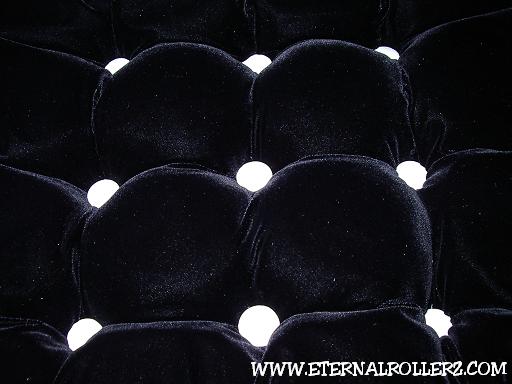
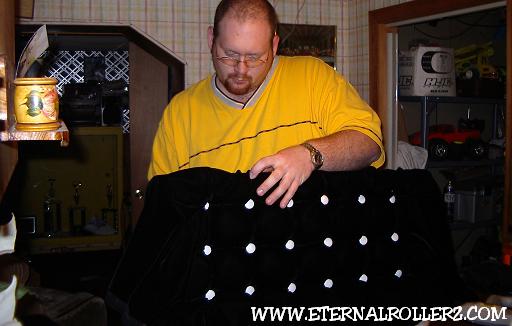
Above: Here it is so far.
Above: You can see the pattern starting to take shape.
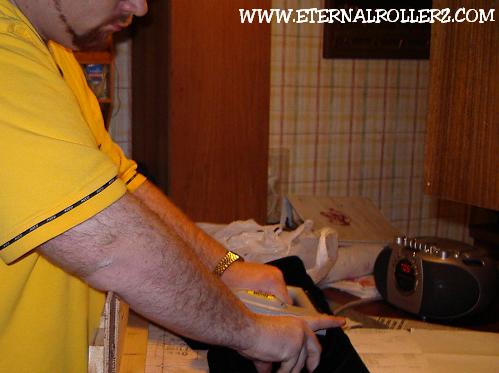
Above: Here Jay uses the staple gun to wrap the fabric over the edges.
Above: Tension is put on the fabric and it is stapled in place. When done this way it makes the fabric look pleated.
Above: A few more staples are put in place.
Above: The extra fabric is carefully trimmed and glue is put on all edges of fabric and on the button strings.

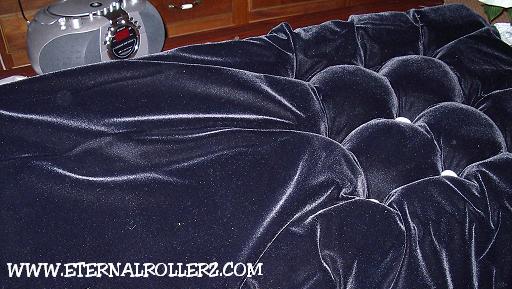
Above: The finished work is laid out to get a idea how it will look.
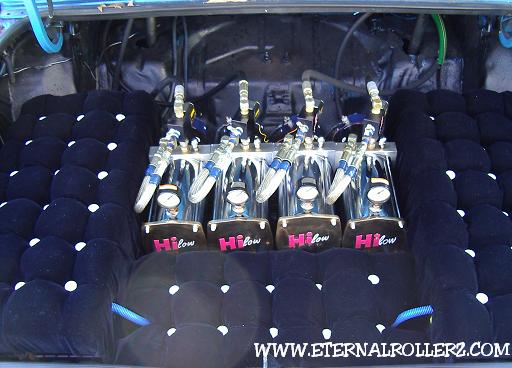
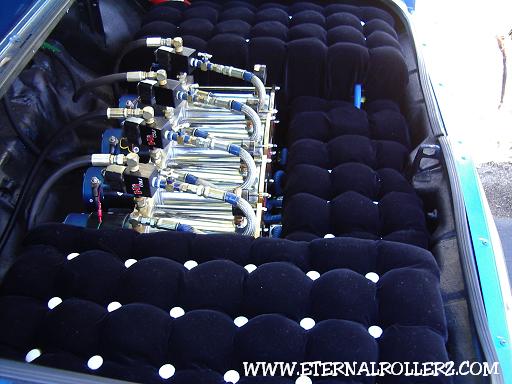
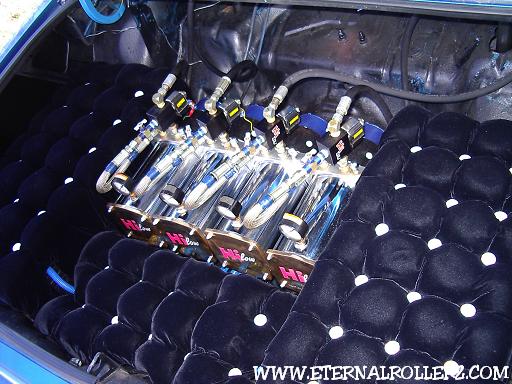
Above: Here is some of it installed in the car.
All Photographs and Art Copyright
© 1998-2005 Eternal Rollerz C.C.
Website Design Copyright © 1998-2005 Webmaster